Painting cabinets can completely change the look of the kitchen or bathroom and doesn’t have to be expensive. If you are planning to use a Graco paint sprayer, you have shortlisted a good tool that will make the work easier, less time consuming, and more professional. In this step-by-step guide, you will be shown a suitable method on how to use a Graco paint sprayer for cabinets.
Toward the end of this tutorial, all the technical aspects involved in preparation and spraying techniques will be comprehensively covered for an attractive end result for your cabinets. It is necessary that you show your cabinets off but this is only possible when they have been painted properly and there are no visible brush marks on them.
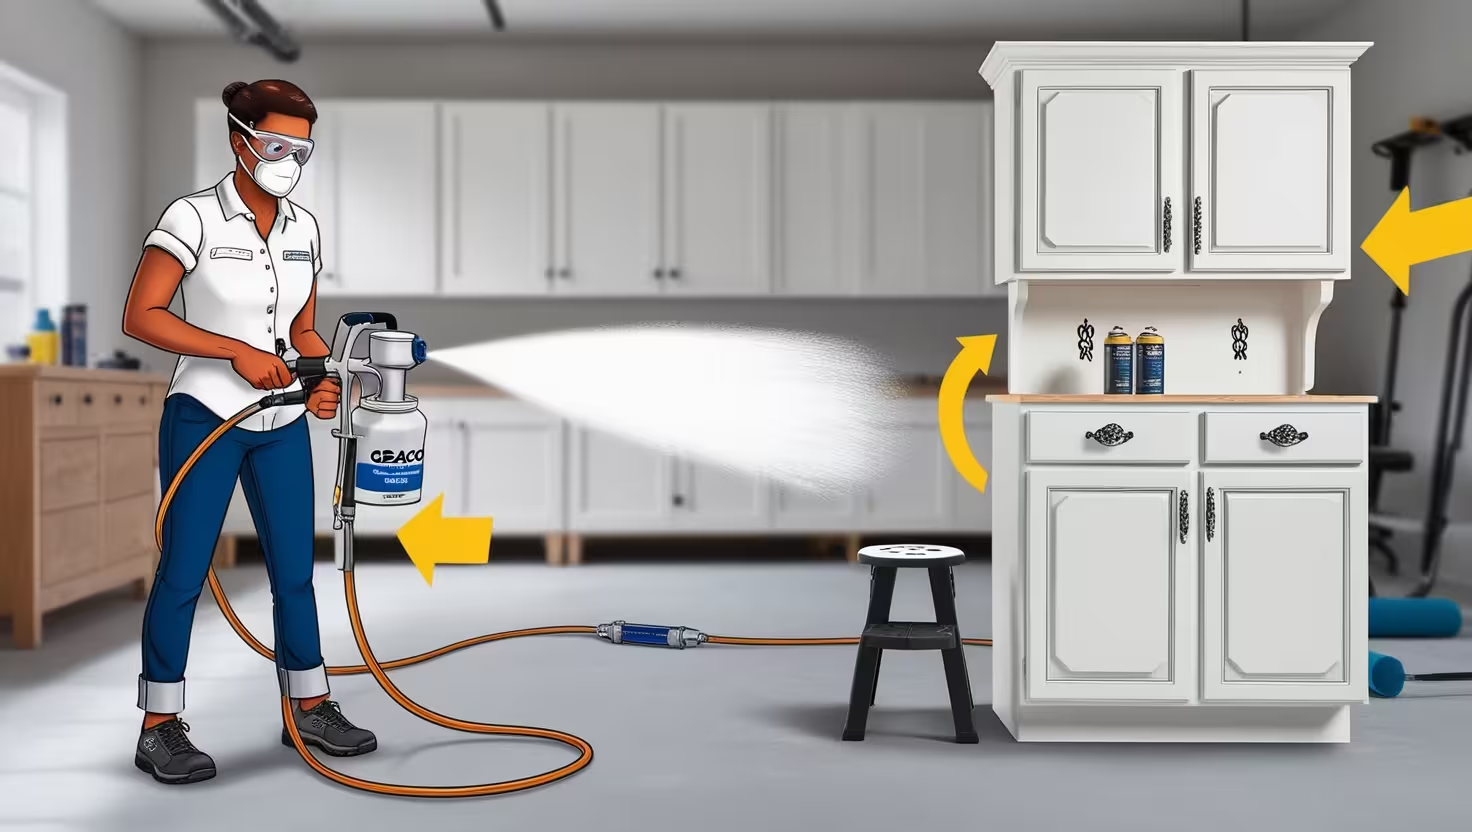
What is a Graco Paint Sprayer?
A Graco paint sprayer is a type of airless sprayer that provides a very smooth, even coat while only using a small amount of paint which makes it fast. It has been designed to spray paint quickly which assists any has an increased ratio of DIY users and professionals alike.
With proper knowledge on how to use a Graco paint sprayer for cabinets, you will save valuable effort and time and make sure the end product is perfect. The same cannot be said for working with a brush or a roller. These simply cause a lot of finishing and surface texture on the cabinet which can be very unsightly due to glare. With a Graco Paint Sprayer, you can easily make thesis concerns disappear.
Tools and Materials You’ll Need
- Gather the listed tools first before you begin spraying to ensure a smooth painting process.
- Graco paint sprayer
- Suitable paint (latex, enamel or oil-based) for painting cabinets Fisher and Fisher
- Sand (120 to 220 grit)
- Painter’s tape Painters
Drop cloths or plastic sheets Masking tape or cardboard Priming (if necessary) Protective clothing or gloves, goggles, and a mask Preparing such materials will make you able to maintain focus and order on how to use a Graco paint sprayer for cabinets professionally.
Step 1: Preparing the cabinets
To ensure that the best look is achieved when painting the cabinets, preparation is key. To begin, strip the cabinet doors, drawer(s), and the hardware from the cabinet boxes in the following order: First, pull hinges. Second, remove the doors. Third, remove the drawers and finally, the hardware.
After removing the drawers, take the doors out, the drawer pulls out, and the hinges off. Prepare the screws and save the original hardware; you will need them later. This step prevents the application of paint on surface areas where it is not required, thus providing space where a better paint application can be made.
Then, scrub the cabinets with a degreaser or soap water to get rid of dirt and old material. Painting will be improved thanks to sanding with 120 to 220 grit sandpaper on the surfaces of the cabinets. After sanding, the first step is to ensure the cabinets are cleaned with a wet cloth to eliminate any dust. This preparation is important because it serves as a vigorous foundation that will help achieve a uniform appearance when you understand how to use a Graco paint sprayer for cabinets.
Step 2: Masking and protecting of surfaces of contact od the sprayed surfaces
There are overspray effects caused by spraying paint onto the surfaces surrounding the components, which may be affected. Take the edges along the walls and countertops and cover them with painter’s tape. Use drop cloths to cover the floors and masking paper to mask areas that are not required for painting. A properly masked working area allows one to have a neat end to the painting process. This step is very necessary to avoid hitches while learning how to use a Graco paint sprayer for cabinets.
Step 3: Selection of Correct Paint and Primer
Selection of correct paint and primer is of importance to get the desired results. In case the cabinets in question are already painted or are made of impervious material, apply a bonding primer that would aid the paint to stick in place. For cabinets it is best to use semi-gloss or satin finishes since these surfaces are stain resistant and easy to clean. When learning how to use a Graco paint sprayer for cabinets, one of the factors to consider is the paint ‘s compatibility with your sprayer model. While some models of Graco sprayers can take thick paints, others might not be able to avoid thinning.

Step 4: Preparing Graco Paint Sprayer
For the first time use, please consult this manual since all Graco models differ based on the model you have. Please read the assembly instructions carefully and constructive feedback. Pick out the spray tip that should be recommended during cabinet painting. A smaller spray tip such as a 311 or 413 is recommended for smooth finishes on cabinets. Another one is setting the correct spray pressure, which is vital when inquiring about the right techniques for how to use a Graco paint sprayer for cabinets. If the pressure setting is too high, there will be overspray, and if it is too low, there will be patches of spray that are not covered.
Step 5: Practicing on Scrap Materials
When using spray paint guns for the first time, it is important to test out the gun on a piece of cardboard or scrap wood first. This will enable you to understand how the sprayer’s trigger works and how to adjust the spray pattern. Combination of practicing techniques and getting familiar with the machine prior ahead of working on your cabinets is important. Graco paint sprayer for the cabinets is no longer a stressful appliance to use after you’ve got some practice with the sprayer.
Step 6: Applying Kabinetes with Primer Paint
Cabinets must be primed, in particular when altering dark or other wood shades. After preparing the surface properly pour the primer into the Graco spray gun and thin it if required as per the manufacturer’s recommendations. Spray continuously and smoothly. Keep the distance from the surface at roughly 10 to 12 inches. Spray the distance at a constant speed in overlapping strokes to prevent any areas from being missed. Proper priming is one of the aspects that come into play when learning how to use Graco paint sprayers to paint cabinets correctly.
Step 7: Using the Paint
When the primer is flat, it’s time to apply the final coat of paint whether primer has been used earlier. First clean the sprayer if it was being used earlier, and then fill the Graco sprayer’s paint reservoir, adjusting the painting pressure as necessary. Always keep the cabinets at a steady distance to avoid drips from paint or uneven coverage too. Long strokes in one direction is the best way to learn how to use a graco sprayer for cabinets without over areas where paint can spread.
Step 8: Application of Several Coats
Two or three coats of paint are relatively proper for cabinet painting. Again, make sure that the entire coat is thoroughly dried before painting the next layer cover over the last coat. Sand between the coats with finer sand papers to allow for a smoother surface once dry. This process ensures your cabinets look professionally done and also teaches the importance of waiting time when figuring out how to use a graco paint sprayer for cabinets.
Step 9: Problems and their solutions.
It can still be problematic due clogged nozzles, and moreover, paint runs even with the utmost professional preparation. When you see that spraying has become uneven, check the nozzle and the relevant part for dirt and pat dry if required. In fact a very integral part in learning the process of how to use the graco paint sprayer for cabinets also includes being able to know how to instantly fix those issues.
Step 10: Maintenance of the Graco Paint Sprayer
If you want your Graco paint sprayer to last longer, perform proper cleanup after each use. Take apart the sprayer and rinse all its components thoroughly with water or designated cleaning solvent. It is recommended to perform general cleaning with reasonable frequency in order to best maintain the sprayer as you intend to do more projects in future such as painting furniture.
Step 11: Putting the Cabinets Back Together
Once the paint is dry, put the doors, drawers and other fixtures back on. Ensure that all components are properly aligned and overly sanded surfaces have dried before moving them too much. To perform this step correctly will be important for the success of the entire project. Being able to use a Graco paint sprayer for cabinets guarantees you that the end result is brought up to perfection.
Professional Finish Tips
- For paint pouring into the sprayer, strain it first to avoid clogging of the lines.
- Instead of painting using heavy layers, spray light even ones to prevent drips.
- Make sure you spray paint in highly ventilated areas for better airflow and drying.
- Even when working with a spray gun, inhaling any fumes or paint dust is prohibited thus protective clothing should be worn.

Best Time to Apply a Sealer
For kitchen cabinets, it is wise to apply a clear sealer after the paint has dried for added durability. This keeps the paint healthy from scrapes and stains. Using a sealant is something that can help you a great deal as you consider how to use a Graco paint sprayer for cabinets.
Conclusion
It might appear tough to use a Graco sprayer for cabinets but with some preparation and techniques, it is possible to produce professional results. Most homeowners have a challenge from painting their cabinets to figuring out how to properly use a sprayer and all stages are important. After enough practice, patience, and paying close attention to details, you will be able to change your cabinet look and revamp your space. Take your time, and before long you will have lovely painted cabinets that make your heart soar.
